Continuity Testing Cables: How & Why We Do It
Trevor Hendricks2025-02-03T19:31:23+00:00At iRex, quality is our number one priority, and nowhere is this more evident than our rigorous quality assurance procedures. These QA measures play out in many ways, but one of the core elements of our process is the continuity testing we perform on every cable we make. In this article, we detail our emphasis on continuity testing and why it matters to our customers.
What is Continuity Testing?
A continuity test, or resistance test, is used to determine if a circuit is complete and to measure the resistance the current faces. This applies to any fuse, switch, or cable. At iRex we use continuity testing to verify that a cable functions as intended, meaning it carries a charge from one terminal to another with an acceptable amount of resistance.
If a cable does not carry a charge or experiences too much resistance, that means the circuit is open. That could indicate a broken, noncontinuous conductor or other damaged components. The way this testing works for cables is that the cable is connected to a testing device on both terminals, forming a circuit. The device, most commonly a digital multimeter, then sends a programmable current and the voltage and current are measured on both terminals. From those two readings, the resistance can be calculated.

Why Continuity Testing?
Continuity testing forms the backbone of our QA process because it is such a useful indicator for a variety of problems. Prior to the QA process, all of our cables and their crimps are visually inspected, but some problems can still escape detection.
An “open circuit” readout can be a sign of a crimp issue, insulation issue, or flux on the electrical connections. Having a broad and general test that we can then use to further diagnose an issue is essential to the speed and quality in our process.
How We Perform the Tests

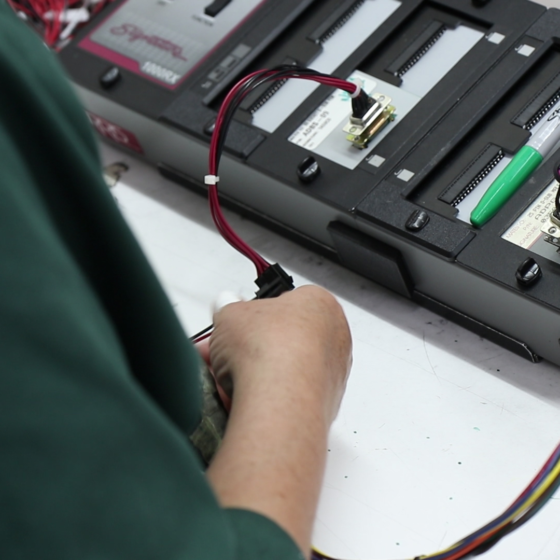
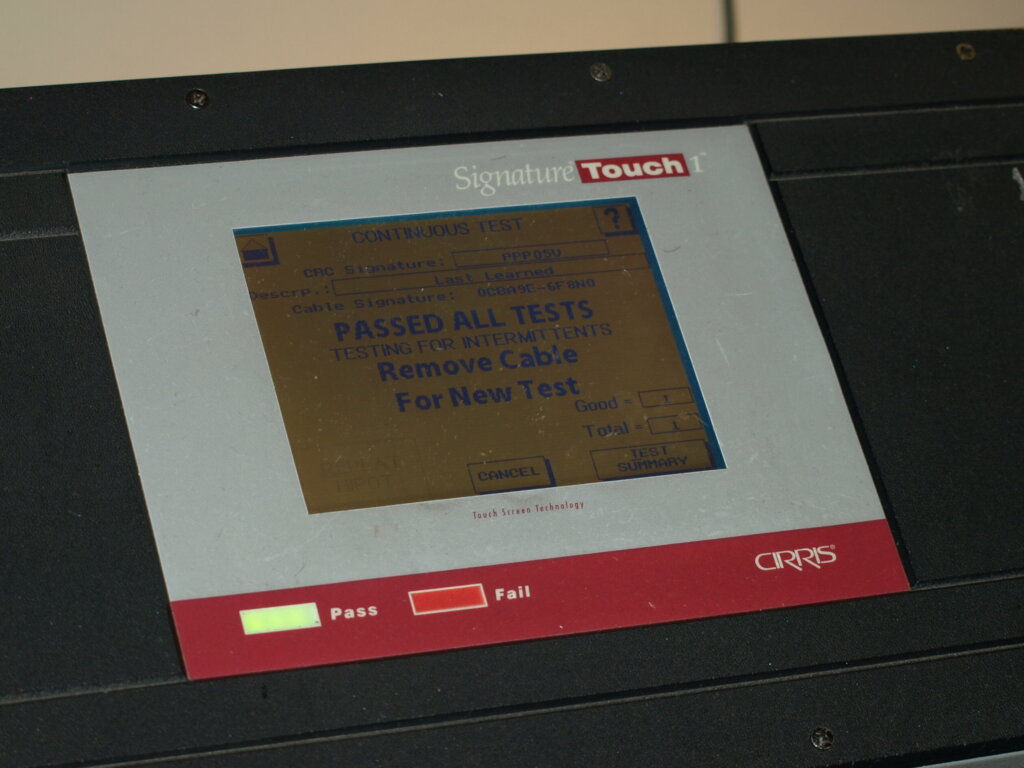
We perform all of our continuity tests on Cirris machines. In order to perform the test, the Cirris machine must first “learn” the cable with a functioning first article that all cables will be compared against. It’s critical that this first cable works and be connected and tested properly, otherwise all subsequent cables will fail.
Once the first article is connected, the proper current is dialed in and the rest of the cables can be cycled through by adding their terminals to the correctly chosen receivers. The test will then show whether the circuit is “open” or not and whether further testing is warranted. The whole process happens within a matter of seconds for each cable.
What’s Next?
Continuity tests represent a fraction of the quality assurance tests that iRex can provide. Depending on the type of cable and use-case, we will recommend a variety of other tests, like voltage tests and specifically hipot testing. With our line of Cirris testers as well as our sister company, Austin Reliability Labs, we can accommodate any type of QC need.
For more information on our quality processes or cable assembly in general, contact us here!


